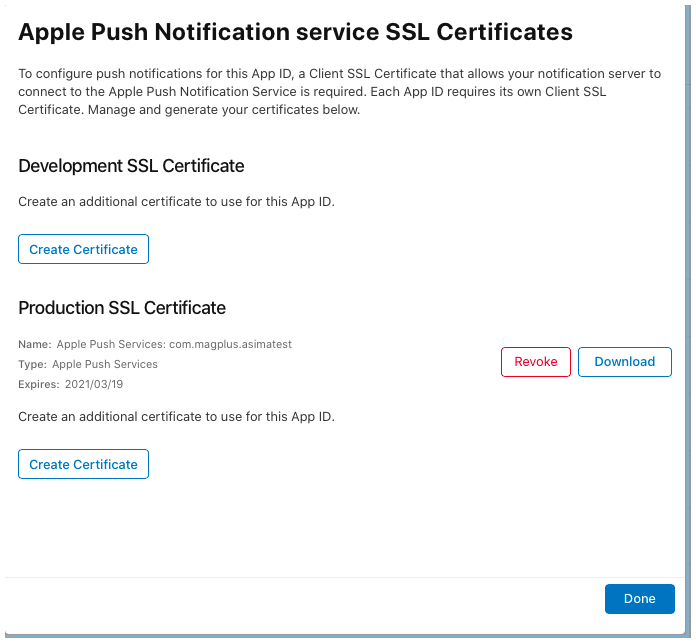
Push Notification Certificates let you send notifications to users of your app. They expire one year after creation and must be renewed in order to let you send in-app notifications to your end-users. One month prior to expiration, the iOS Dev Center and the mag+ Publish portal will email a warning to your associated brand admin.
Note: While Push Notification Certificates are optional for regular iOS apps.Push Notification Certificates require a valid, unexpired Distribution Certificate. If you have created a new Distribution Certificate, you will need to create a new Push Notification Certificate and upload it to the mag+ Publish portal (see the "Before You Begin" section below).
If you are unsure if your Provisioning Profile has Push Notifications enabled, read the article "iOS - Check if your Provisioning Profiles Accept Push Notifications."
Before You Begin
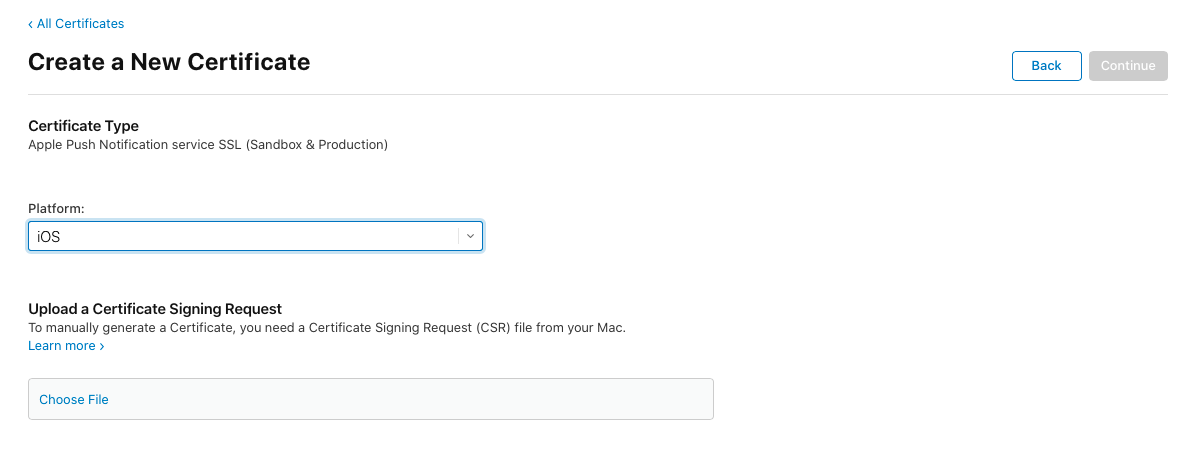
Make sure you have a valid, unexpired Certificate Signing Request (CSR file) downloaded to your machine. When downloaded, the file has a default ".certSigningRequest" file extension. For more information on how to request a CSR file please see the first 4 steps in our "iOS - Creating a Distribution Certificate and .p12 File." article.
Important Information
Push Notification Certificates are considered a Live feature. So long as the Distribution Certificate is valid and unexpired, you can upload a new Push Notification Certificate to the mag+ Publish portal and not have to build a new app.
How to Renew a Push Notification Certificate
1. To login into the iOS Developer Console https://developer.apple.com/
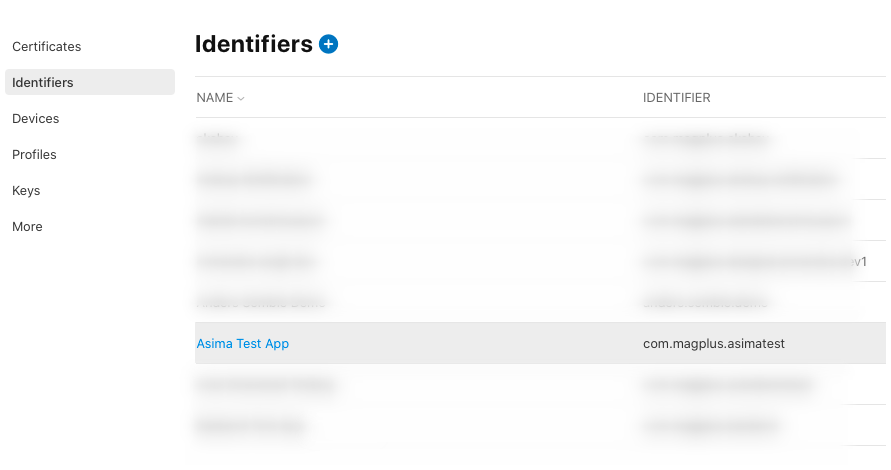
3. Click on the Identifiers > App IDs
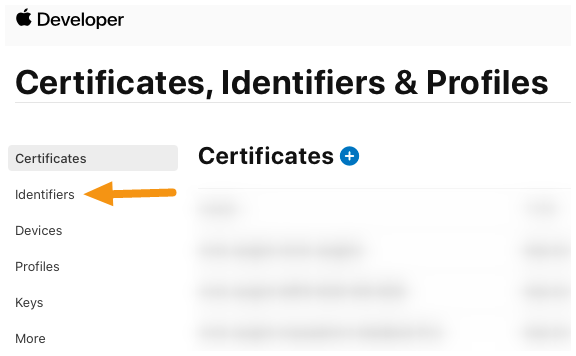
Note: Be sure you have your valid, unexpired Distribution Certificate available before proceeding. The certificate is referred to as a CSR file and has a default extension of ".certSigningRequest." If you don't, please read the article "iOS - Creating a Distribution Certificate and .p12 File."How to Export Your New Push Notification Certificate as a .p12 File
1. In Keychain Access, select the certificate entry and right-click on it to select "Export."
Note: All certificates you have installed will be in the "login" keychain (Label 1) under the category "My Certificates" (Label 2).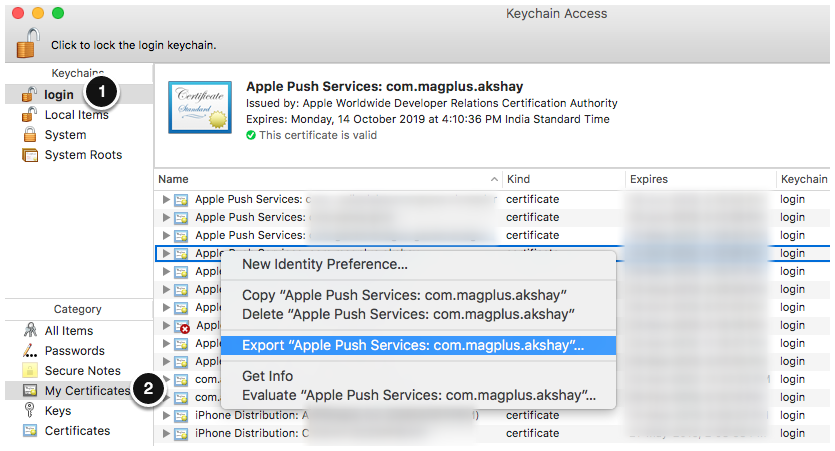
2. In the window that appears, add "Push-" to the file name, make sure the File Format is set to "Personal Information Exchange (.p12)" and click on "Save" to save it to your machine.
Note: mag+ Recommends changing the name of the certificate to reflect what it is used for. This ensures that you do not get confused about which certificate belongs to which apps, which is a distribution versus a push notification certificate, etc.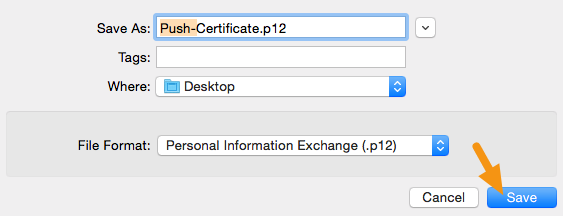
3. When asked for a password, leave it blank and click on "Ok."
Note: You MUST NOT enter a password in this step, otherwise the mag+ Publish portal will be unable to build your app.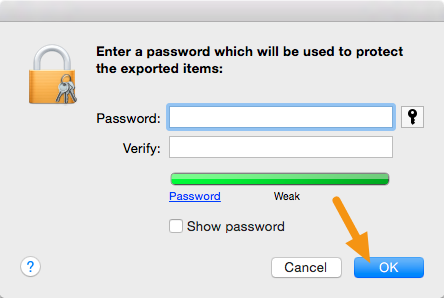
4. When asked for the computer password, enter it and click on "Allow."
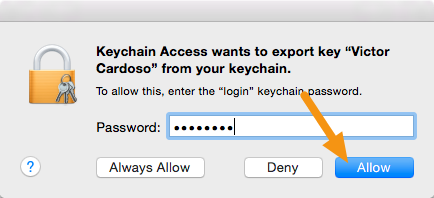
5. Your .p12 file will be saved in the location you specified.
Note: You can now upload your .p12 file to the mag+ Publish portal.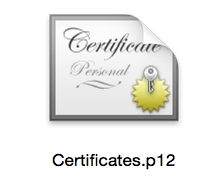
Certificate Renewal: Next Steps
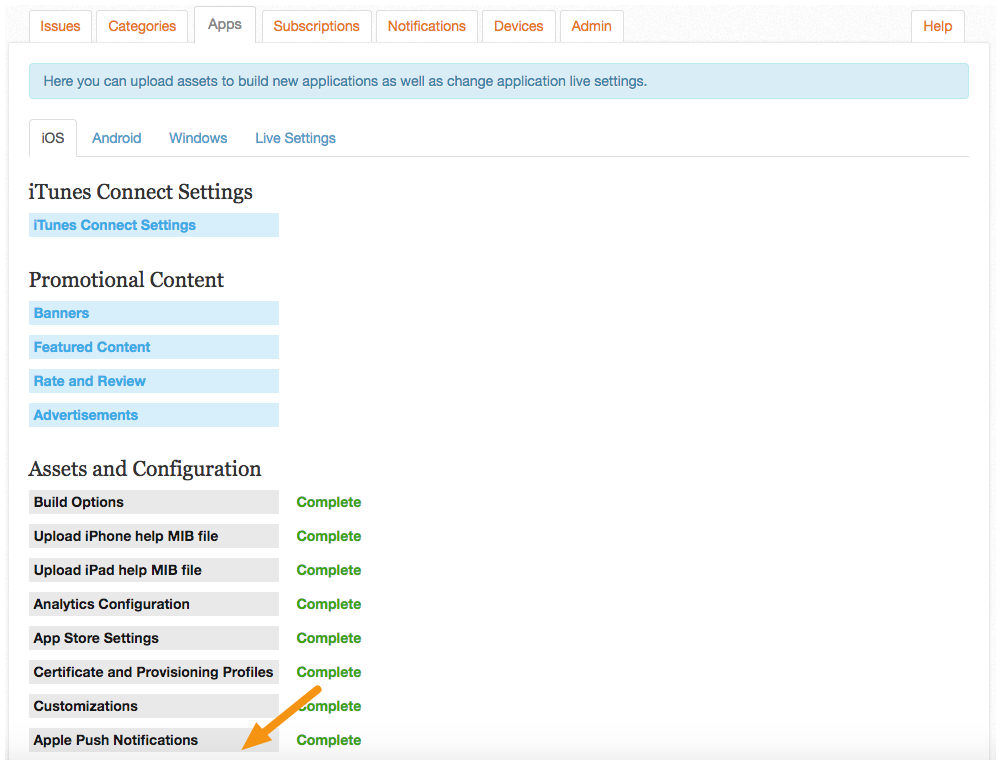
As stated previously, new Push Notification Certificates do not require a new app build unless you have created a new Distribution Certificate. Once uploaded to the mag+ Publish portal, you can send push notifications to your end-users.




0 Comments